

Overview of Kayak Polishing Tips
Kayak polishing is a crucial step in maintaining the appearance and longevity of your kayak. It involves applying a polish or wax to the surface of the kayak to protect it from UV rays, saltwater, and other environmental factors that can cause damage over time. By regularly polishing your kayak, you can keep it looking shiny and new, while also extending its lifespan.
Key Takeaways
- Polishing your kayak is important to maintain its appearance and protect it from damage.
- Choose the right polish for your kayak based on its material and condition.
- Properly preparing your kayak before polishing is crucial for achieving the best results.
- Use a step-by-step guide and tips for polishing hard-to-reach areas to ensure a thorough job.
- Regularly polishing your kayak and avoiding common mistakes will help maintain its shine and prolong its lifespan.

Importance of Polishing Your Kayak
Polishing your kayak offers numerous benefits that go beyond just aesthetics. One of the primary advantages is protection against UV rays. Prolonged exposure to the sun can cause the kayak’s color to fade and the material to deteriorate. By applying a polish with UV inhibitors, you create a protective barrier that shields your kayak from harmful rays.
Additionally, polishing helps to prevent oxidation. Oxidation occurs when the kayak’s surface reacts with oxygen in the air, resulting in a dull and chalky appearance. A good polish will create a barrier that prevents oxidation, keeping your kayak looking vibrant and glossy.
Furthermore, regular polishing can extend the lifespan of your kayak. By protecting it from environmental factors such as saltwater, dirt, and debris, you reduce the risk of corrosion and damage to the kayak’s surface. This not only enhances its appearance but also ensures that it remains structurally sound for years to come.
Choosing the Right Polish for Your Kayak
When it comes to choosing a polish for your kayak, there are several options available on the market. Each type of polish has its own set of pros and cons, so it’s essential to consider factors such as the type of kayak material and the level of shine desired.
One common type of polish is a traditional wax-based polish. Wax polishes provide excellent protection against UV rays and create a high-gloss finish. However, they may require more frequent reapplication compared to other types of polishes.
Another option is a polymer-based polish. These polishes often contain synthetic ingredients that offer superior durability and longevity. They provide a long-lasting shine and protection, making them ideal for kayakers who want to minimize maintenance.
For those looking for a quick and easy solution, spray-on polishes are also available. These polishes can be applied directly to the kayak’s surface and require minimal effort. However, they may not provide the same level of protection as traditional wax or polymer-based polishes.
When choosing a polish, it’s important to consider the material of your kayak. Different materials, such as fiberglass, plastic, or composite, may require specific types of polishes to achieve the best results. Additionally, consider the level of shine you desire. Some polishes offer a high-gloss finish, while others provide a more subtle sheen.
Preparing Your Kayak for Polishing
| Step | Description | Time Required |
| 1 | Wash the kayak with soap and water | 30 minutes |
| 2 | Dry the kayak with a towel | 10 minutes |
| 3 | Apply a marine polish to the kayak | 20 minutes |
| 4 | Buff the kayak with a clean cloth | 30 minutes |
Before you begin polishing your kayak, it’s crucial to properly prepare the surface. Start by cleaning the kayak thoroughly to remove any dirt, grime, or salt residue. Use a mild detergent or specialized kayak cleaner and a soft sponge or cloth to gently scrub the surface. Rinse the kayak with fresh water and allow it to dry completely before proceeding.
Removing any dirt or debris is essential because polishing over these particles can cause scratches or swirl marks on the kayak’s surface. Take extra care when cleaning hard-to-reach areas such as handles, hatches, and crevices where dirt can accumulate.
Once your kayak is clean and dry, inspect it for any signs of damage or wear. Address any issues before proceeding with the polishing process to ensure that you achieve the best possible results.
Step-by-Step Guide to Polishing Your Kayak
Now that your kayak is clean and prepared, it’s time to start polishing. Follow these step-by-step instructions for a smooth and even finish:
1. Apply a small amount of polish to a clean, soft cloth or applicator pad. Start with a small section of the kayak and work in circular motions, applying the polish evenly.
2. Continue applying the polish to the rest of the kayak, working in small sections at a time. Avoid applying too much pressure, as this can cause swirl marks or damage the kayak’s surface.
3. Once you have applied the polish to the entire kayak, allow it to dry according to the manufacturer’s instructions. This usually takes a few minutes.
4. Once the polish has dried, use a clean, soft cloth or microfiber towel to buff the kayak’s surface. Again, work in circular motions, applying gentle pressure to achieve a smooth and glossy finish.
5. Repeat the polishing and buffing process if necessary, especially if you want to achieve a higher level of shine.
Tips for Polishing Hard-to-Reach Areas
Polishing hard-to-reach areas of your kayak can be challenging but not impossible. Here are some techniques to help you tackle those tricky spots:
1. For areas underneath your kayak, such as the hull or keel, consider using a foam pad attached to an extension pole. This will allow you to reach these areas without straining yourself or damaging the kayak.
2. When polishing around handles and hatches, use a smaller applicator pad or cloth to ensure precision and avoid accidentally hitting other parts of the kayak.
3. If there are any tight crevices or corners that are difficult to reach with a cloth or pad, try using a soft-bristle brush or toothbrush dipped in polish. Gently scrub these areas in circular motions to remove dirt and apply the polish evenly.
Remember to take your time and be patient when polishing hard-to-reach areas. It may require some extra effort, but the end result will be worth it.
How Often Should You Polish Your Kayak?
The frequency at which you should polish your kayak depends on several factors, including how often you use it and the conditions it is exposed to. As a general guideline, it is recommended to polish your kayak at least once or twice a year.
If you frequently use your kayak in saltwater or harsh environments, you may need to polish it more often to maintain its appearance and protection. Similarly, if you notice signs of oxidation or fading, it’s a good indication that your kayak needs polishing.
Regularly inspect your kayak for any signs of wear or damage. If you notice any scratches, chips, or other issues, address them before polishing to ensure that the surface is in the best possible condition.
Common Mistakes to Avoid When Polishing Your Kayak
While polishing your kayak can be a straightforward process, there are some common mistakes that you should avoid to achieve the best results:
1. Using the wrong type of polish for your kayak’s material. Different materials require specific polishes to avoid damage or discoloration. Always check the manufacturer’s recommendations or consult with a professional if you are unsure.
2. Applying too much pressure when polishing. Excessive pressure can cause swirl marks or scratches on the kayak’s surface. Instead, apply the polish gently and let it do the work.
3. Neglecting to clean and dry the kayak before polishing. Polishing over dirt or debris can result in scratches or an uneven finish. Take the time to properly clean and dry your kayak before applying any polish.
4. Overusing polish. Applying too much polish can lead to a sticky residue that is difficult to remove and can attract dirt and grime. Use a small amount of polish and apply it evenly for the best results.
By avoiding these common mistakes, you can ensure that your kayak looks its best and remains in excellent condition.
Maintaining Your Kayak’s Shine After Polishing
After you have polished your kayak, it’s important to take steps to maintain its shine and protect it from future damage. Here are some tips to help you keep your kayak looking its best:
1. Store your kayak properly. When not in use, store your kayak in a cool, dry place away from direct sunlight. This will help prevent fading and damage from UV rays.
2. Avoid using harsh cleaning products. Stick to mild detergents or specialized kayak cleaners when cleaning your kayak. Harsh chemicals can strip away the protective polish and damage the kayak’s surface.
3. Rinse your kayak with fresh water after each use, especially if you have been in saltwater. Salt can be corrosive and can cause damage if left on the kayak’s surface.
4. Regularly inspect your kayak for any signs of wear or damage. Address any issues promptly to prevent further damage and maintain the kayak’s appearance.
By following these maintenance tips, you can ensure that your kayak remains shiny and protected for years to come.
Download over 500 Boat Plans. Click on the link below.
-->Click Here<--
Alternative Methods for Polishing Your Kayak
While traditional polishes are effective, there are alternative methods you can explore to achieve a polished finish on your kayak. One option is using a wax or sealant specifically designed for kayaks. These products often provide additional protection against UV rays and can be easier to apply than traditional polishes.
Another alternative is using a ceramic coating. Ceramic coatings create a durable and long-lasting protective layer on the kayak’s surface. They offer excellent resistance against UV rays, saltwater, and other environmental factors, making them ideal for kayakers who want maximum protection with minimal maintenance.
Before trying any alternative methods, it’s important to research and understand the specific requirements and application process for each product. Some may require additional preparation or specialized tools for optimal results.
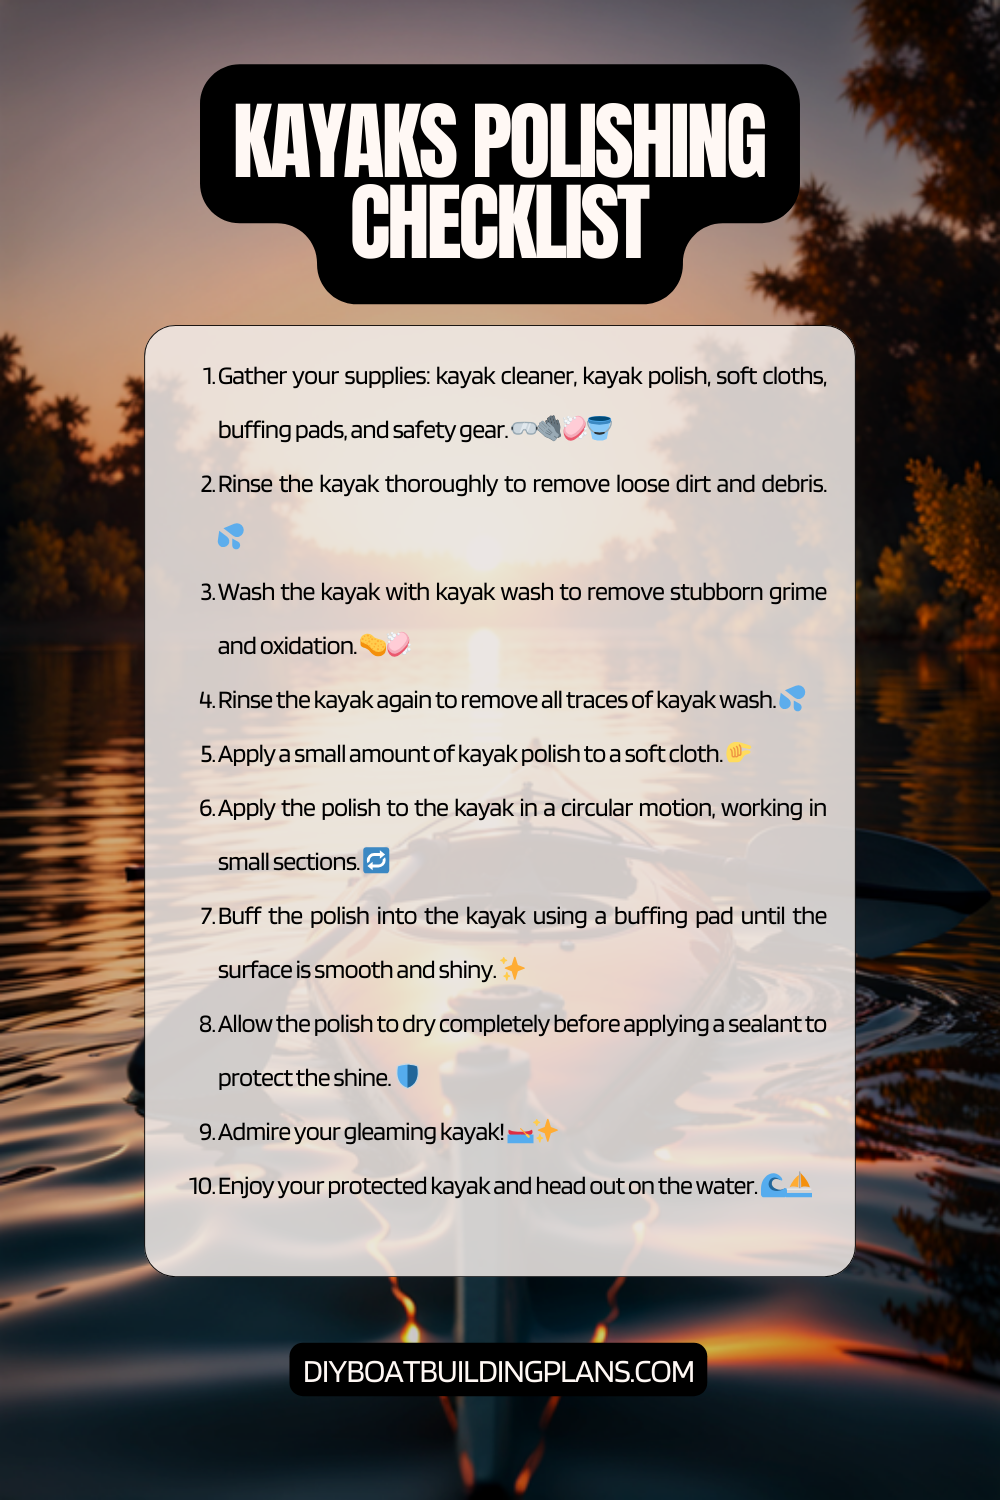
Kayak Polishing Checklist
Conclusion – Kayak Polishing Tips
In conclusion, polishing your kayak is an essential step in maintaining its appearance and extending its lifespan. By protecting it from UV rays, oxidation, and other environmental factors, you can keep your kayak looking shiny and new for years to come.
When choosing a polish, consider the type of kayak material and the level of shine desired. Take the time to properly prepare your kayak before polishing, ensuring that it is clean and dry. Follow a step-by-step guide to achieve a smooth and even finish, paying extra attention to hard-to-reach areas.
Avoid common mistakes such as using the wrong type of polish or applying too much pressure. Regularly inspect your kayak for signs of wear or damage, and address any issues promptly. Finally, maintain your kayak’s shine by storing it properly, using mild cleaning products, and rinsing it with fresh water after each use.
By following these tips and guidelines, you can enjoy a beautifully polished kayak that not only looks great but also stands the test of time.
FAQs – Kayak Polishing Tips
What is kayak polishing?
Kayak polishing is the process of cleaning and shining the surface of a kayak to maintain its appearance and protect it from damage caused by exposure to the elements.
Why is kayak polishing important?
Kayak polishing is important because it helps to protect the kayak from damage caused by exposure to the sun, saltwater, and other environmental factors. It also helps to maintain the appearance of the kayak, making it look new and shiny.
What materials are needed for kayak polishing?
Materials needed for kayak polishing include a cleaning solution, a polishing compound, a microfiber cloth, and a buffer or polishing machine.
What is the best way to clean a kayak before polishing?
The best way to clean a kayak before polishing is to rinse it with fresh water to remove any dirt or debris. Then, use a mild cleaning solution and a soft-bristled brush to scrub the surface of the kayak. Rinse the kayak again with fresh water and dry it with a clean towel.
How often should a kayak be polished?
The frequency of kayak polishing depends on how often the kayak is used and how it is stored. Generally, it is recommended to polish a kayak at least once a year to maintain its appearance and protect it from damage.
Can I use car wax to polish my kayak?
Yes, car wax can be used to polish a kayak. However, it is important to use a wax that is specifically designed for use on boats and kayaks to ensure that it provides the best protection and does not damage the surface of the kayak.