

Overview of Fan Boat Painting Tips
Fan boat painting is the process of applying paint to the exterior of a fan boat to enhance its appearance and protect it from the elements. Fan boats are unique watercraft that are propelled by a large fan or propeller, making them ideal for navigating shallow waters. These boats are often used for recreational purposes, such as fishing or exploring marshy areas. However, due to their exposure to water, sun, and other environmental factors, the paint on fan boats can deteriorate over time. Therefore, it is important to maintain the appearance of your fan boat through regular painting.
Maintaining the appearance of your fan boat is crucial for several reasons. Firstly, a well-painted fan boat not only looks aesthetically pleasing but also adds value to your investment. A properly painted fan boat can attract potential buyers if you ever decide to sell it in the future. Additionally, a fresh coat of paint can protect the hull of your fan boat from corrosion and damage caused by exposure to water, UV rays, and other elements. By investing time and effort into proper fan boat painting, you can ensure that your watercraft remains in top condition for years to come.
Key Takeaways
- Proper fan boat painting is important for both aesthetics and protection against the elements.
- Choosing the right paint and preparing the surface properly are crucial steps in the process.
- Sanding techniques and masking/taping can help ensure a smooth and even paint job.
- Applying primer before painting can improve adhesion and durability of the paint.
- Proper drying and maintenance can help extend the life of your fan boat’s paint job.

Importance of Proper Fan Boat Painting
Proper fan boat painting offers numerous benefits that go beyond just enhancing the appearance of your watercraft. One of the primary advantages is protection against corrosion. Fan boats are constantly exposed to water, which can lead to rusting and deterioration of the hull if not properly protected. By applying a high-quality paint specifically designed for marine environments, you create a barrier that shields the metal or fiberglass surface from moisture and prevents corrosion.
Neglecting fan boat painting can have severe consequences. Without a protective layer of paint, your fan boat becomes vulnerable to damage from saltwater, chemicals, and other corrosive substances present in marine environments. Over time, this can lead to structural issues and compromise the integrity of your watercraft. Additionally, the lack of paint can result in fading and discoloration of the hull, making your fan boat appear worn out and unattractive. By neglecting fan boat painting, you not only risk costly repairs but also diminish the overall value and enjoyment of your watercraft.
Choosing the Right Paint for Your Fan Boat
When it comes to choosing paint for your fan boat, it is essential to select a type that is specifically formulated for marine applications. Marine paints are designed to withstand the harsh conditions of saltwater, UV rays, and constant exposure to moisture. There are two main types of paint suitable for fan boats: antifouling paint and topside paint.
Antifouling paint is primarily used on the bottom of the hull to prevent the growth of marine organisms such as barnacles and algae. This type of paint contains biocides that deter the attachment of these organisms, reducing drag and improving fuel efficiency. Topside paint, on the other hand, is used on the upper parts of the hull and deck. It provides protection against UV rays, saltwater, and general wear and tear.
When choosing paint for your fan boat, consider factors such as durability, color options, ease of application, and compatibility with other coatings. It is also important to check if the paint you choose is compatible with the material of your fan boat’s hull. Fiberglass hulls require different types of paint compared to aluminum or steel hulls. Consulting with a professional or referring to manufacturer recommendations can help you make an informed decision.
Preparing Your Fan Boat for Painting
| Step | Description |
|---|---|
| 1 | Remove any debris or dirt from the fan boat surface using a pressure washer or hose. |
| 2 | Sand the surface of the fan boat to create a smooth and even texture. |
| 3 | Apply a primer to the surface of the fan boat to ensure the paint adheres properly. |
| 4 | Apply the paint to the fan boat surface using a spray gun or brush. |
| 5 | Allow the paint to dry completely before applying a second coat if necessary. |
| 6 | Apply a clear coat to protect the paint and give it a glossy finish. |
| 7 | Allow the clear coat to dry completely before using the fan boat. |
Before you begin painting your fan boat, it is crucial to prepare the surface properly. This involves cleaning and degreasing the hull to remove any dirt, grime, or contaminants that may interfere with paint adhesion. Start by washing the entire surface with a mild detergent and water solution. Use a soft brush or sponge to scrub away any stubborn dirt or stains. Rinse thoroughly to ensure all traces of soap are removed.
After cleaning, inspect the hull for any damages or imperfections that need to be addressed before painting. Look for cracks, chips, or areas where the paint has peeled off. These areas should be repaired to ensure a smooth and even paint job. Depending on the extent of the damage, you may need to fill in cracks with marine-grade epoxy or use a fiberglass repair kit for more substantial repairs. Sand down any rough edges or uneven surfaces to create a smooth canvas for painting.
Taking the time to properly prepare your fan boat for painting will ensure better adhesion of the paint and a longer-lasting finish. It is important not to rush this step, as any imperfections left unaddressed can affect the overall quality of your paint job.
Sanding Techniques for Fan Boat Painting
Sanding is a crucial step in fan boat painting as it helps create a smooth surface for the paint to adhere to. It also removes any remaining traces of old paint, roughens the surface for better adhesion, and helps blend in repaired areas with the rest of the hull. Different sanding techniques are used depending on the part of the fan boat being painted.
For large, flat areas such as the deck or sides of the hull, a random orbital sander with medium-grit sandpaper is often used. This type of sander provides an even sanding pattern and prevents swirl marks on the surface. Start by sanding in a back-and-forth motion, following the grain of the hull. Gradually move from coarse to finer grit sandpaper until you achieve a smooth and uniform surface.
For smaller or curved areas that cannot be reached with a power sander, hand sanding is necessary. Use sandpaper wrapped around a sanding block or your fingers to gently sand these areas. Take care not to apply too much pressure, as this can damage the surface. Sand in a circular motion or follow the contours of the area being sanded.
Remember to always wear protective gear such as goggles and a dust mask when sanding to prevent inhalation of dust particles and eye injuries. After sanding, thoroughly clean the surface to remove any sanding residue before proceeding to the next step.
Masking and Taping for Fan Boat Painting
Proper masking and taping are essential to ensure clean lines and prevent overspray on areas that should not be painted. Before you start painting, identify the areas that need to be masked off, such as windows, rubber trim, or any other parts that should remain unpainted. Use high-quality masking tape designed for painting applications to secure the edges of the tape firmly and prevent paint from seeping underneath.
When masking off larger areas, such as windows or entire sections of the hull, it is recommended to use plastic sheeting or drop cloths to cover these areas completely. This will protect them from overspray and accidental paint splatters. Secure the plastic sheeting with tape or clamps to ensure it stays in place during the painting process.
Take your time when masking and taping, ensuring that all edges are properly sealed and no gaps are present. This will help achieve clean lines and a professional-looking paint job. It is worth investing in high-quality masking materials to avoid any issues during painting.
Applying Primer to Your Fan Boat
Applying primer before painting is crucial for several reasons. Primer acts as a bonding agent between the surface of your fan boat and the paint, ensuring better adhesion and durability of the final coat. It also helps seal any porous areas on the hull, preventing moisture from penetrating and causing damage.
There are different types of primers available for fan boat painting, including epoxy primers, etching primers, and self-etching primers. Epoxy primers are ideal for bare metal surfaces as they provide excellent corrosion resistance. Etching primers are designed for use on aluminum surfaces, creating a strong bond between the metal and the paint. Self-etching primers are suitable for both metal and fiberglass surfaces, as they chemically etch into the surface, promoting adhesion.
Before applying primer, ensure that the surface is clean and free of any dust or debris. Use a tack cloth or a lint-free cloth to wipe down the surface and remove any remaining particles. Apply the primer in thin, even coats, following the manufacturer’s instructions regarding drying times and number of coats required. Allow the primer to dry completely before proceeding to the next step.
Tips for Painting Your Fan Boat
When it comes to painting your fan boat, there are several techniques and tips that can help you achieve a smooth and even paint job. Firstly, always follow the manufacturer’s instructions regarding mixing ratios, application methods, and drying times. Different paints may have specific requirements that need to be followed for optimal results.
To achieve a professional finish, apply the paint in thin, even coats. Avoid applying too much paint at once, as this can lead to drips, runs, and an uneven finish. It is better to apply multiple thin coats, allowing each coat to dry before applying the next one. This will help prevent sagging and ensure better adhesion between layers.
Consider using a paint sprayer for larger areas of your fan boat, as it provides a more even application compared to brushes or rollers. However, if using a sprayer is not feasible, high-quality brushes or foam rollers can also yield satisfactory results. Take your time when painting and pay attention to detail, ensuring that all areas are covered evenly.
Avoid painting in direct sunlight or extreme temperatures, as this can affect the drying time and overall quality of the paint job. Choose a well-ventilated area to paint your fan boat and consider using a paint booth or tent to protect it from dust and debris.
Drying and Curing Your Fan Boat Paint
After applying the final coat of paint, it is crucial to allow it to dry and cure properly before exposing your fan boat to water or other elements. Drying refers to the evaporation of solvents in the paint, while curing refers to the chemical reaction that occurs within the paint film, resulting in a hard and durable finish.
The drying and curing times vary depending on the type of paint used, environmental conditions, and the number of coats applied. It is important to follow the manufacturer’s instructions regarding drying and curing times to ensure optimal results. Avoid rushing the process by exposing the painted surface to excessive heat or moisture, as this can lead to bubbling, cracking, or other defects in the finish.
To speed up the drying and curing process, you can use fans or heaters to increase airflow and create a controlled environment. However, be cautious not to apply excessive heat, as this can cause the paint to dry too quickly and result in a poor finish. Patience is key when it comes to drying and curing your fan boat paint, as allowing sufficient time will ensure a long-lasting and durable finish.
Maintaining Your Fan Boat Paint Job
Once you have completed the painting process, it is important to maintain your fan boat‘s paint job to keep it looking new and protect it from damage. Regular cleaning is essential to remove dirt, saltwater residue, and other contaminants that can degrade the paint over time. Use a mild detergent and water solution along with a soft brush or sponge to gently clean the surface. Avoid using abrasive cleaners or tools that can scratch or dull the paint.
In addition to cleaning, inspect your fan boat regularly for any scratches, chips, or areas where the paint has worn off. These areas should be touched up promptly to prevent further damage. Keep a small supply of touch-up paint that matches the color of your fan boat’s hull for quick and easy repairs.
To protect the paint from UV rays and other environmental factors, consider applying a clear coat or wax to the surface. This will provide an additional layer of protection and enhance the shine of your fan boat. Follow the manufacturer’s instructions regarding application and reapplication intervals for the best results.
Lastly, store your fan boat properly when not in use. Cover it with a high-quality boat cover to protect it from dust, debris, and UV rays. If possible, store it in a covered area or garage to minimize exposure to extreme weather conditions.
Download over 500 Boat Plans. Click on the link below.
-->Click Here<--
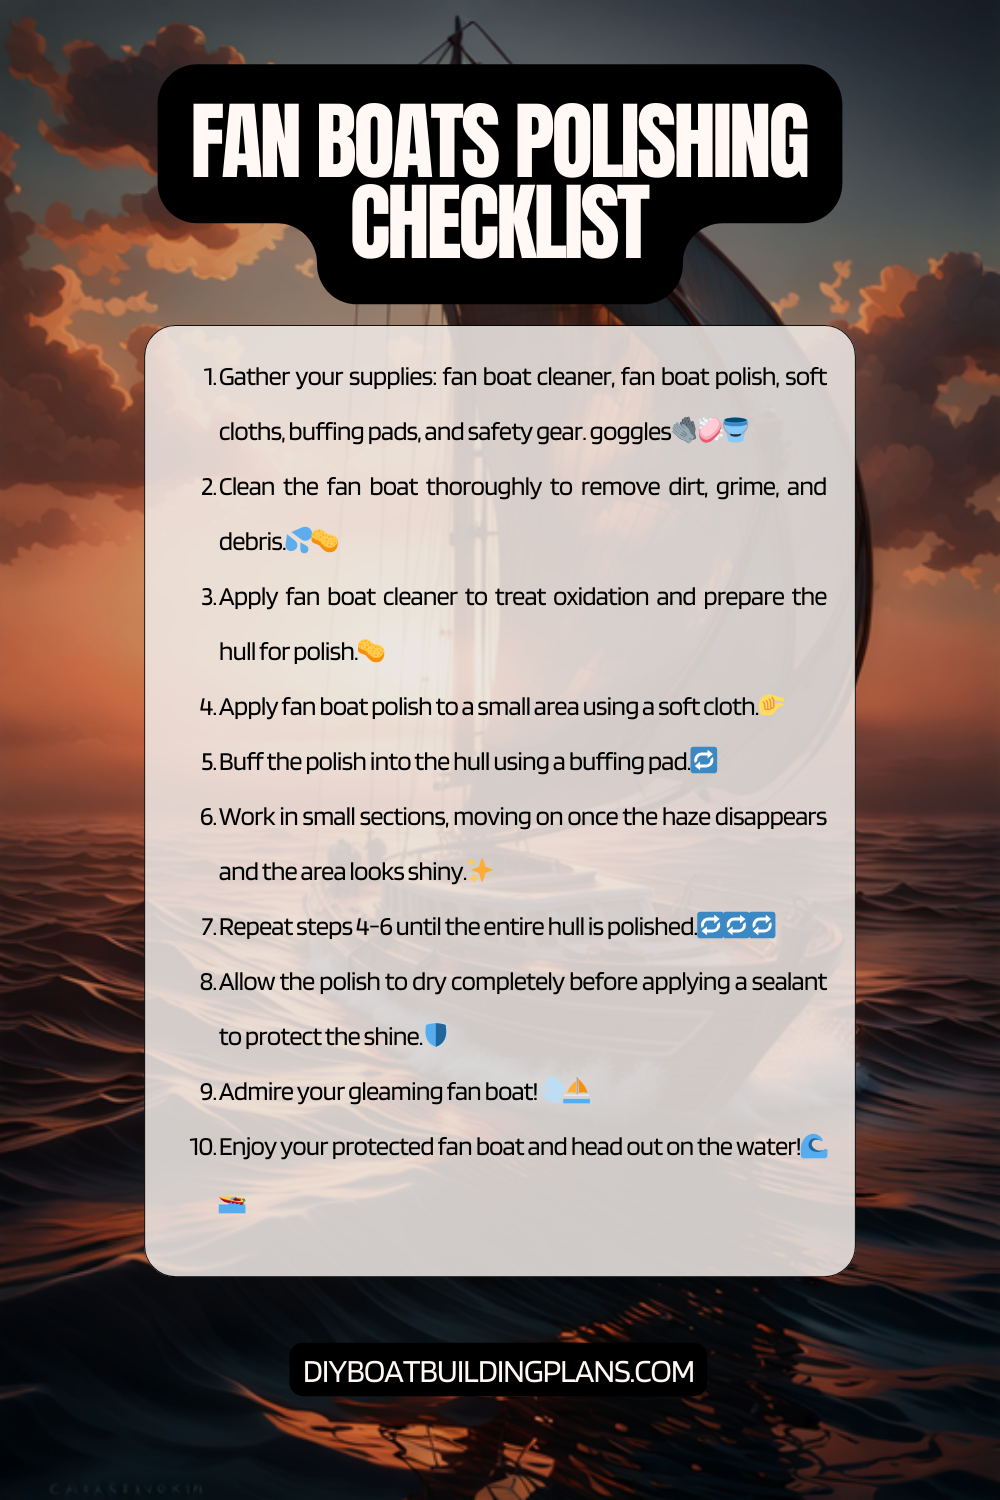
Fan Boat Painting Checklist
Conclusion – Fan Boat Painting Tips
In conclusion, proper fan boat painting is essential for maintaining the appearance and value of your watercraft. By choosing the right paint, preparing the surface correctly, and following proper painting techniques, you can achieve a professional-looking finish that protects your fan boat from corrosion and damage.
Remember to take your time during each step of the painting process, from cleaning and sanding to masking and applying primer. Use high-quality materials and follow manufacturer recommendations for optimal results. Regular maintenance, including cleaning, touch-ups, and applying protective coatings, will help keep your fan boat looking new for years to come.
Investing in proper fan boat painting not only enhances the aesthetics of your watercraft but also ensures its longevity and resale value. By following the tips outlined in this article, you can achieve a great fan boat paint job that will make you proud to cruise the waters in style.
FAQs – Fan Boat Painting Tips
What is a fan boat?
A fan boat is a type of watercraft that is propelled by an aircraft or automotive engine that drives a propeller or fan.
Why would someone want to paint their fan boat?
Painting a fan boat can help protect it from the elements and make it look more visually appealing.
What type of paint should be used for a fan boat?
Marine-grade paint is recommended for fan boats as it is designed to withstand exposure to water and other harsh conditions.
What preparation is needed before painting a fan boat?
The fan boat should be thoroughly cleaned and any old paint or rust should be removed. The surface should also be sanded to create a smooth surface for the new paint to adhere to.
What tools are needed for painting a fan boat?
Tools needed for painting a fan boat include paint brushes, rollers, spray guns, sandpaper, and masking tape.
What is the best way to apply paint to a fan boat?
The best way to apply paint to a fan boat is to use a spray gun as it allows for an even application and can reach difficult areas. However, brushes and rollers can also be used for smaller areas.
How many coats of paint should be applied to a fan boat?
At least two coats of paint should be applied to a fan boat to ensure proper coverage and protection.
How long does it take for the paint to dry on a fan boat?
The drying time for paint on a fan boat can vary depending on the type of paint used and the weather conditions. It is recommended to wait at least 24 hours before applying a second coat or using the boat.