

Overview of Dory Painting Tips
Painting a dory is not just about aesthetics; it is an essential part of maintaining and preserving the boat. A well-painted dory not only enhances its appearance but also protects it from the harsh elements of the water. The paint acts as a barrier against moisture, UV rays, and other environmental factors that can cause damage to the boat’s structure. Additionally, a fresh coat of paint can increase the resale value of a dory, making it a worthwhile investment for boat owners.
A well-painted dory offers several benefits. Firstly, it provides protection against water damage, preventing rot and decay in the wood. Secondly, it helps to prevent the growth of algae and other organisms that can attach themselves to the hull and impede the boat’s performance. Lastly, a well-painted dory is more visually appealing, making it a joy to look at and sail on.
Key Takeaways
- Choose the right paint for your dory based on its material and intended use.
- Properly prepare your dory for painting by cleaning and sanding the surface.
- Apply primer before painting to ensure a smooth and long-lasting finish.
- Use proper techniques when painting your dory’s hull, deck, and interior.
- Regular maintenance is key to keeping your dory’s paint job looking great.

Choosing the Right Paint for Your Dory
When it comes to choosing paint for your dory, there are several factors to consider. The type of paint you select will depend on various factors such as the material of your dory, your budget, and your desired finish. There are generally two types of paint commonly used for dories: oil-based and water-based.
Oil-based paints are known for their durability and resistance to water. They provide excellent protection against moisture and are ideal for wooden dories. However, they can be more challenging to work with due to their longer drying time and strong odor. On the other hand, water-based paints are easier to clean up and have a faster drying time. They are also more environmentally friendly. However, they may not offer the same level of durability as oil-based paints.
Preparing Your Dory for Painting
Before you start painting your dory, proper preparation is crucial for achieving a successful paint job. The first step is to clean the boat thoroughly. Remove any dirt, grime, or old paint using a mild detergent and a scrub brush. Rinse the dory with clean water and allow it to dry completely.
Once the dory is clean, the next step is sanding. Sanding helps to create a smooth surface for the paint to adhere to. Start by using coarse-grit sandpaper to remove any rough spots or imperfections. Then, gradually move to finer-grit sandpaper for a smoother finish. Be sure to sand in the direction of the wood grain to avoid damaging the surface.
Sanding Techniques for a Smooth Finish
| Sanding Technique | Description | Advantages | Disadvantages |
| Hand Sanding | Sanding by hand using sandpaper or sanding blocks. | Controlled sanding, good for small areas, inexpensive. | Time-consuming, can cause uneven sanding, can be tiring. |
| Power Sanding | Sanding using a power tool such as an orbital sander or belt sander. | Efficient, saves time, good for large areas. | Can be expensive, can cause damage if not used properly, can be noisy. |
| Wet Sanding | Sanding using water to lubricate the sandpaper and reduce dust. | Produces a smooth finish, reduces dust, good for finishing coats. | Can be messy, requires more time and effort, can cause rust if not dried properly. |
| Dry Sanding | Sanding without water or lubrication. | Good for rough sanding, can be done quickly, less messy. | Produces more dust, can cause scratches, not good for finishing coats. |
Achieving a smooth finish on your dory requires using the right sanding techniques. One technique is hand sanding, which involves using sandpaper wrapped around a block or your hand. This method allows for better control and precision, especially in hard-to-reach areas.
Another technique is power sanding, which involves using an electric sander. Power sanders can save time and effort, especially when working on larger areas. However, they require caution and proper technique to avoid damaging the wood.
Regardless of the technique you choose, it is essential to start with coarse-grit sandpaper and gradually work your way up to finer-grit sandpaper. This process helps to remove imperfections and create a smooth surface for painting.
Applying Primer to Your Dory
Before applying paint, it is crucial to use a primer on your dory. Primer acts as a base coat that helps the paint adhere better and provides additional protection for the wood. It also helps to seal any imperfections in the surface, ensuring a smoother finish.
To apply primer, start by stirring it thoroughly to ensure an even consistency. Use a brush or roller to apply a thin coat of primer onto the dory’s surface, working in small sections at a time. Allow the primer to dry completely before applying the paint.
Tips for Painting Your Dory’s Hull
When it comes to painting the hull of your dory, there are several techniques and tips to achieve a professional-looking finish. Firstly, start by choosing the right brush or roller for the job. A high-quality brush or a foam roller can help you achieve a smoother application and reduce the chances of brush marks or streaks.
Before painting, make sure to mix the paint thoroughly to ensure an even color. Start by applying a thin coat of paint, working in long, even strokes. Avoid overloading the brush or roller with paint, as this can lead to drips and uneven coverage. Allow each coat to dry completely before applying additional coats.
To achieve a professional finish, consider applying multiple thin coats of paint rather than one thick coat. This helps to build up the color gradually and ensures better adhesion. Lastly, be patient and take your time when painting. Rushing the process can lead to mistakes and an unsatisfactory result.
Painting Your Dory’s Deck and Interior
Painting the deck and interior of your dory requires similar techniques as painting the hull. However, there are a few additional considerations to keep in mind. Firstly, ensure that the deck is clean and free from any debris before painting. Use a mild detergent and scrub brush to remove any dirt or stains.
When painting the deck, it is essential to choose a paint that provides good traction to prevent slipping. Consider using a non-slip deck paint or adding a non-slip additive to your chosen paint. This will help improve safety when walking on the deck, especially when it is wet.
For painting the interior of your dory, consider using light-colored paints to create a brighter and more spacious feel. Light colors also make it easier to spot any potential leaks or damage in the future.
Creating a Custom Design for Your Dory
One of the exciting aspects of painting a dory is the opportunity to create a custom design. Whether you want to showcase your creativity or personalize your boat, there are several ideas to consider. One option is to use stencils or templates to create patterns or designs on your dory’s hull or deck. This can be a fun and relatively easy way to add visual interest to your boat.
Another option is to incorporate colors that reflect your personal style or match your other boating accessories. Consider using contrasting colors or adding decorative elements such as pinstripes or decals. However, it is essential to ensure that the design does not compromise the functionality or safety of the boat.
Maintaining Your Dory’s Paint Job
To keep your dory’s paint job looking new and vibrant, regular maintenance is essential. Firstly, make sure to clean the boat regularly using a mild detergent and water. This helps to remove any dirt, salt, or grime that can accumulate on the surface and cause damage over time.
Inspect the paint periodically for any signs of wear or damage. Touch up any areas that have chipped or peeled to prevent further deterioration. Additionally, consider applying a fresh coat of paint every few years to maintain the protective barrier and keep your dory looking its best.
Download over 500 Boat Plans. Click on the link below.
-->Click Here<--
Common Mistakes to Avoid When Painting Your Dory
While painting a dory can be a rewarding experience, there are common mistakes that you should avoid. One mistake is not properly preparing the surface before painting. Failing to clean and sand the dory adequately can result in poor adhesion and an uneven finish.
Another mistake is applying too thick of a coat of paint. Thick coats take longer to dry and are more prone to drips and sagging. It is better to apply multiple thin coats for better coverage and a smoother finish.
Lastly, rushing the painting process can lead to mistakes and unsatisfactory results. Take your time, follow the proper techniques, and allow each coat to dry completely before applying the next.
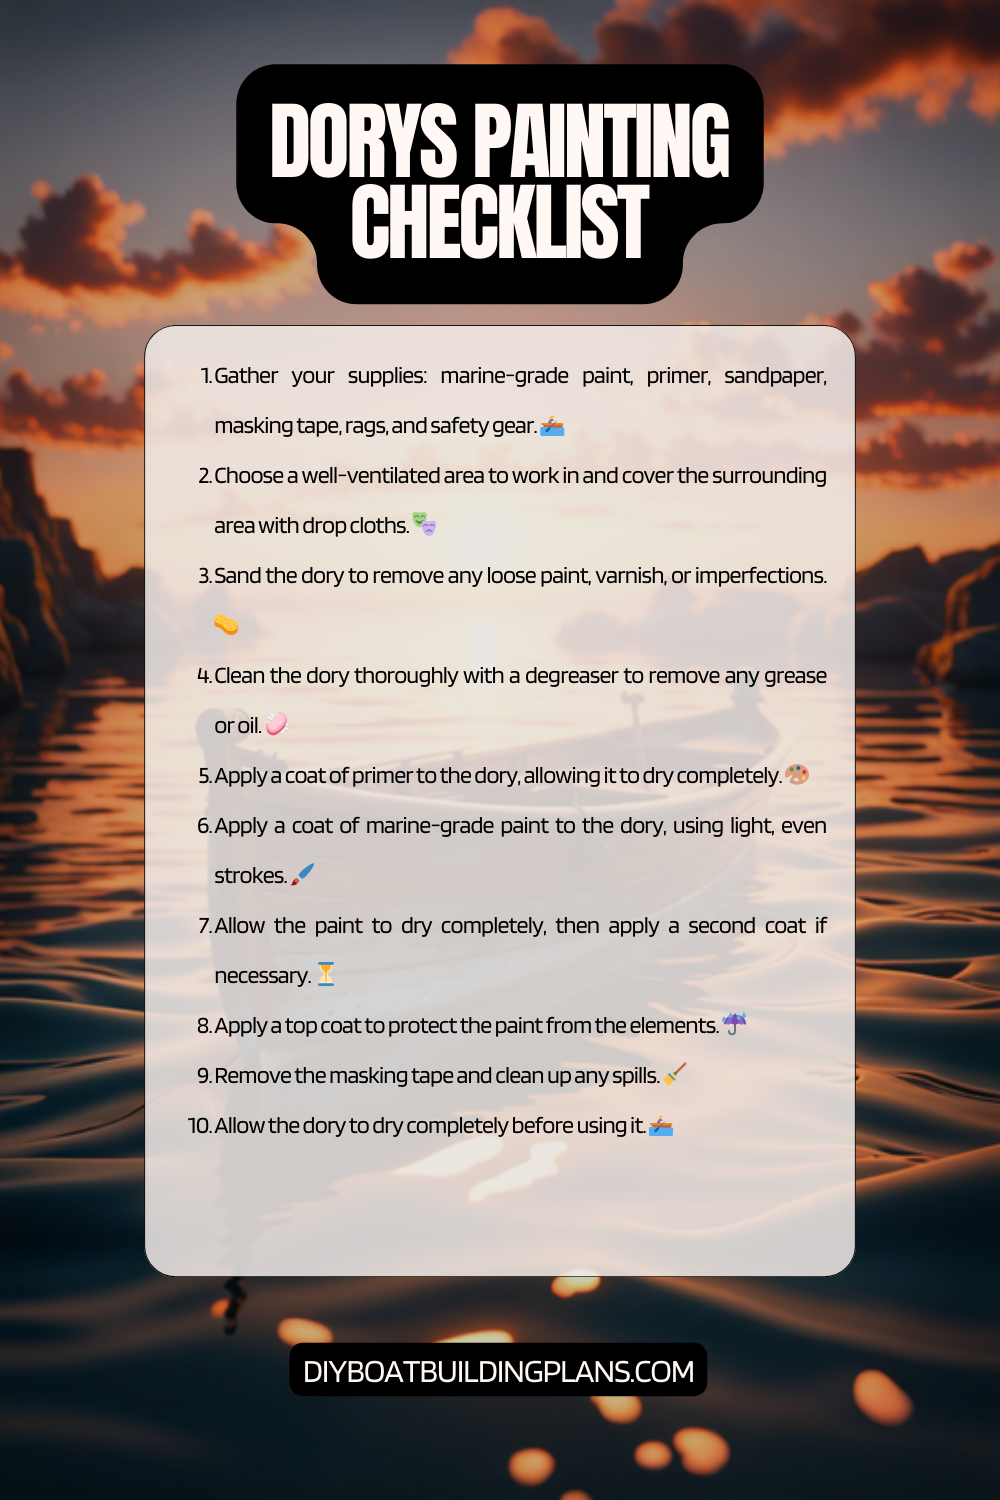
Dory Painting Checklist
Conclusion – Dory Painting Tips
In conclusion, painting a dory is not only about enhancing its appearance but also about protecting it from the elements. Choosing the right paint, properly preparing the surface, and using the correct techniques are crucial for achieving a successful paint job. Whether you decide to paint your dory’s hull, deck, or interior, following these tips will help you achieve a professional-looking finish.
Don’t be afraid to get creative and customize your dory’s paint job to reflect your personal style. However, always prioritize functionality and safety when designing your custom look. With regular maintenance and proper care, your well-painted dory will continue to provide joy and satisfaction for years to come. So, grab your brushes and rollers, and embark on the exciting journey of painting your dory!
FAQs – Dory Painting Tips
What is Dory Painting?
Dory painting is the process of painting a dory boat, which is a small, flat-bottomed fishing boat commonly used in coastal areas.
What are some tips for preparing a dory boat for painting?
Before painting a dory boat, it is important to clean and sand the surface to remove any dirt, grime, or old paint. It is also recommended to use a primer to help the paint adhere to the surface.
What type of paint should be used for dory painting?
Marine-grade paint is recommended for dory painting, as it is designed to withstand exposure to water and salt. Oil-based paints are also commonly used for their durability.
What are some tips for applying paint to a dory boat?
When applying paint to a dory boat, it is important to use a high-quality brush or roller to ensure even coverage. It is also recommended to apply multiple thin coats of paint rather than one thick coat.
How long does it take to paint a dory boat?
The time it takes to paint a dory boat depends on the size of the boat and the complexity of the design. Generally, it can take anywhere from a few days to a few weeks to complete the painting process.
What are some common mistakes to avoid when painting a dory boat?
Common mistakes to avoid when painting a dory boat include not properly preparing the surface, using low-quality paint or tools, and applying too thick of a coat of paint. It is also important to avoid painting in extreme temperatures or humidity.