

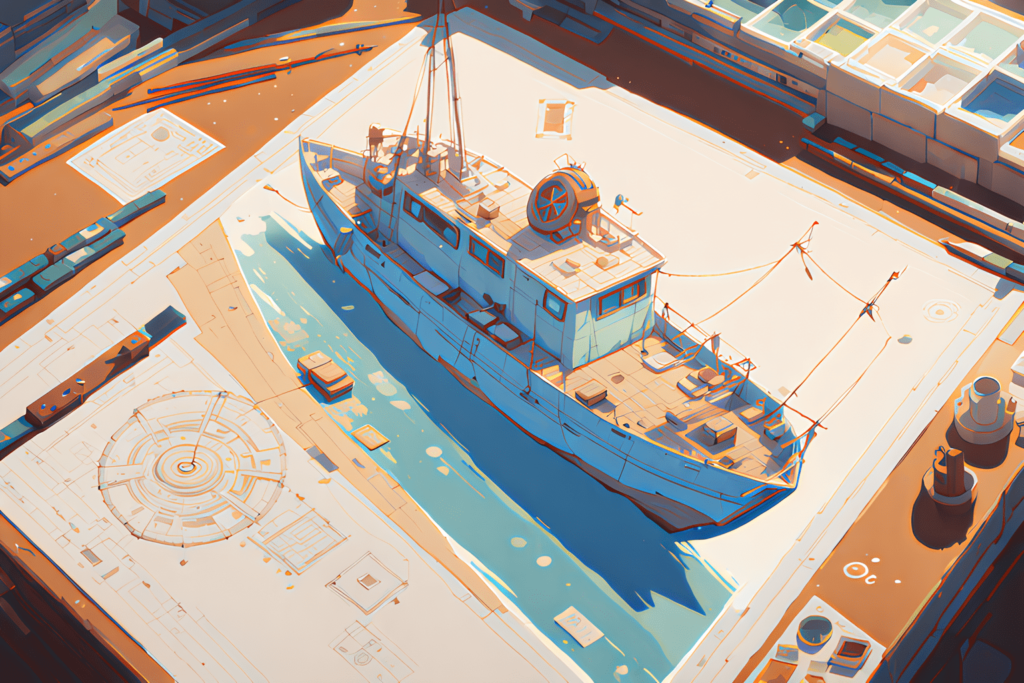
Ever thought about building your dream boat without spending a lot or needing to be a pro at woodworking? You can make a stunning boat using marine grade plywood, simple tools, and a bit of creativity.
Stitch and glue boat building is a new way to make boats that’s easy for beginners. It turns making wooden boats into a fun weekend project. You can make your own plywood boat designs with just a few basic tools.
This method has been around for decades and makes boat making simpler. It uses marine grade plywood panels joined by stitching and epoxy. You can build a boat for under $300 and finish it in less than 60 hours. DIY stitch and glue boat plans are a great way for beginners to start building boats.
Key Takeaways – Stitch and Glue Boat Plans & Blueprints
- Stitch and glue technique requires minimal woodworking experience
- Boats can be completed in less than 60 hours
- Material costs can remain under $300
- Marine grade plywood is typically 3-5MM thick
- Suitable for creating canoes, kayaks, and small watercraft
Introduction to Stitch and Glue Boat Building
Boat building fans are finding the charm of DIY stitch-and-glue plywood boats. This new method has changed how we build boats at home. It’s now easy for beginners with little woodworking knowledge.
Stitch and glue boat building is a fresh way to make watercraft. It’s different from old methods because it lets builders make light boats with simple tools and skills.
What is Stitch and Glue?
The stitch-and-epoxy boat plans method is special. It uses plywood panels, wire stitches, and epoxy to build boats. The main points are:
- Plywood panels shape the boat’s hull
- Fiberglass tape adds strength
- Little framing is needed
- The boats are light
Benefits of DIY Boat Building
Building glue-lapstrake boats has many perks for DIY lovers:
- It’s cheap, costing less than $1000
- It takes about 50 hours to build
- You don’t need advanced woodworking skills
- You can make your own unique boat
“The joy of boat building is not just in the destination, but in the journey of creation.” – Wooden Boat Magazine
Stitch and glue techniques make boat building simple. It’s now a fun weekend project for DIY fans.
Essential Tools and Materials
Starting a boat building project needs careful planning and the right tools. Whether you’re making small boat plans or stitch-and-glue kayak plans, the right tools and materials are key to success.
Boatbuilding is an art that needs precision and quality tools. You don’t need a huge workshop to make sailboat plans or build your dream boat.
Essential Tools for Boat Construction
- Circular saw for smooth curve cutting
- Random orbital sander for finishing
- Japanese crosscut saw for efficiency
- Sharp chisels and planes
- Multiple clamps for securing materials
- Power drill with various bits
- Utility knife for precise cuts
Recommended Materials for Boat Building
Choosing the right materials is key for building strong and reliable boats. Here’s a list of materials you should consider:
| Material | Recommended Type | Quantity |
|---|---|---|
| Plywood | Marine-grade Okume or Meranti | 4-6 sheets (3/16″ thick) |
| Lumber | Cypress or Douglas Fir | 50-60 linear feet |
| Epoxy | Marine-grade | 2-3 gallons |
| Fiberglass | 10 oz cloth | 10-12 yards |
“Invest in quality tools and materials. They are the foundation of a successful boat building project.”
Pro Tip: When working on stitch-and-glue kayak plans or small boat plans, focus on tool quality over quantity. A few sharp, well-chosen tools are better than many cheap ones.
Remember, keeping your tools sharp and organized can make your boat building project better. Make sure your tools are clean, sharp, and easy to find. This will help you work smoothly on your boat.
Choosing the Right Blueprint
Choosing the right DIY stitch and glue boat plans is important. It’s not just about picking a design. It’s about matching your skills, how you plan to use the boat, and what you like.
- Skill level and experience
- Intended water usage
- Available workspace
- Budget constraints
- Personal aesthetic preferences
Critical Design Considerations
DIY boat builders need to think strategically. About 70% of boat builders make their boats unique. So, your blueprint should be flexible.
| Design Type | Skill Level | Recommended Use |
|---|---|---|
| Recreational Skiff | Beginner | Lake/River Fishing |
| Open Water Rower | Intermediate | Coastal Exploration |
| Performance Dinghy | Advanced | Racing/Competition |
Popular Boat Design Options
Popular stitch and glue boat designs include small vessels like the Holly Point Skiff. It’s fuel-efficient. The Athey recreational rower, at 65 pounds, is great for open water.
Remember: Your boat blueprint is the foundation of your maritime adventure.
With 60% of small boat construction projects using the stitch-and-glue method, you’re part of a big community of boat builders.
Unlock the secrets to building your dream boat with MyBoatPlans! With detailed plans for over 518 boats and expert video tutorials, you’ll have everything you need to create your perfect vessel. Click here to begin your journey!”
Step-by-Step Guide to Cutting Wood
Cutting wood accurately is key in amateur boatbuilding. It’s what makes your stitch-and-epoxy boat plans work. So, measuring and cutting carefully is vital for a strong boat.
Measuring Techniques for Accurate Panels
For DIY stitch-and-glue plywood boats, start with the right measurements. Here’s how:
- Draw panel shapes directly on plywood using blueprint dimensions
- Mark reference points every 24 inches along plywood edges
- Create vertical lines to establish cutting guidelines
“Measure twice, cut once” is the golden rule in boat construction.
Advanced Cutting Tips for Boat Panels
For professional boatbuilding, you need special cutting skills:
- Use a circular saw with depth adjusted to panel thickness
- Create smooth curves using temporary nail points and PVC pipe as a batten
- Utilize first cut panel as a template for symmetrical second panel
| Cutting Technique | Time Required | Difficulty Level |
|---|---|---|
| Frame Cutting | 8 hours | Intermediate |
| Stem Lamination | 2 hours | Advanced |
| Frame Mounting | Less than 1 hour | Beginner |
Pro tip: Always use sharp blades and take your time to ensure precise cuts in your stitch-and-epoxy boat plans.
Stitching Process Explained
Building small boats needs precision and careful technique, mainly in the stitching phase. This process turns plywood panels into a single boat structure. It’s the base for your sailboat plans.
Best Practices for Stitching
Mastering the stitching technique is key to successful boat building. The main method uses temporary fasteners to hold the hull’s shape before bonding it permanently.
- Use 20-gauge copper wire for stitching
- Space stitches every 6-8 inches along seams
- Ensure tight but adjustable connections
- Check alignment before final positioning
Choosing the Right Thread
Choosing the right materials is vital in small boat plans. Copper wire is the top choice for stitch-and-glue kayak plans. It’s flexible and strong.
| Wire Type | Recommended Use | Advantages |
|---|---|---|
| 20-gauge Copper Wire | Primary Stitching | Flexible, Easy to Twist, Corrosion Resistant |
| Stainless Steel Wire | Alternative Option | Stronger, Less Prone to Breaking |
“The art of boat building lies in the precision of your stitches” – Traditional Boat Builder’s Wisdom
Pro tip: Always have wire cutters and pliers nearby to adjust and trim your stitches during the boat construction process.
Applying the Epoxy
Epoxy is key for DIY stitch-and-glue plywood boats. Choosing the right marine-grade epoxy is vital. Knowing how to apply it ensures a strong boat that can handle water.
Essential Types of Epoxy for Boat Construction
Marine-grade epoxy is the best choice for stitch-and-epoxy boat plans. It’s important to look for these qualities:
- Water-resistant properties
- High bonding strength
- UV protection capabilities
- Flexibility and durability
Expert Application Tips for Glue-Lapstrake Boat Building
Applying epoxy well takes skill and patience. Here’s what pros suggest:
- Prime plywood surfaces with liquid resin mixture
- Mix epoxy as the maker says
- Apply thickened epoxy for stronger joints
- Use fiberglass tape for structural reinforcement
“Proper epoxy application transforms raw materials into a seaworthy vessel.” – Professional Boat Builder
In glue-lapstrake boat building, timing is everything. Most marine epoxies need 6-12 hours to dry. Being patient during curing ensures the best strength and integrity.
Critical Considerations for Epoxy Application
When using marine epoxy, keep these tips in mind:
- Keep the temperature steady during application
- Wear protective gear like gloves and a respirator
- Apply rounded epoxy fillets for maximum bond strength
- Follow the maker’s exact mixing ratios
Mastering epoxy techniques will help you build a strong, reliable boat. It shows your skill and love for DIY boat building.
Download over 500 Boat Plans. Click on the link below.
-->Click Here<--
Sanding and Finishing Your Boat
The final stages of wooden boat construction are key to a professional look. Amateur boatbuilding needs careful sanding and finishing for a smooth, lasting vessel.
Mastering Sanding Techniques
Sanding is vital for a flawless boat surface. Experts suggest a step-by-step approach for the best results:
- Start with coarse-grit sandpaper (60-80 grit)
- Then, use medium-grit sandpaper (120-150 grit)
- Finish with fine-grit sandpaper (220-320 grit)
“A smooth surface is the foundation of a beautiful boat,” says Sam Devlin, renowned boat designer.
Selecting the Perfect Finish
Choosing the right finish protects your wooden boat and boosts its look. Here are some options for your project:
| Finish Type | Durability | Best For |
|---|---|---|
| Marine Varnish | High | Wooden surfaces exposed to water |
| Epoxy Paint | Very High | Maximum protection |
| Marine Spar Urethane | Medium-High | Decorative and protective finish |
When applying the final coat, use smooth, even strokes. Work in a dust-free area. Thin coats offer better protection than thick ones.
Pro tip for plywood boat designs: Always prime the surface before painting. This ensures better adhesion and a longer-lasting finish.
Common Mistakes and How to Avoid Them
Building a DIY stitch-and-glue plywood boat can be tough for beginners. Knowing common mistakes helps make sure your boat project goes well.
Critical Errors During Boat Construction
Creating stitch-and-epoxy boat plans needs careful attention. Beginners often make a few mistakes:
- Incorrect panel cutting that messes up the boat’s symmetry
- Wrong epoxy mixing ratios causing weak bonds
- Butt blocks placed wrong, harming the boat’s structure
- Not preparing the surface well before applying epoxy
Troubleshooting Key Construction Challenges
Building a DIY stitch-and-glue plywood boat needs careful technique and problem-solving. Here are ways to fix common issues:
- Measure twice, cut once – Always check blueprint sizes twice
- Use digital calipers for exact measurements
- Mix epoxy in small amounts for better quality
- Try panels together before bonding them for good
“Patience and precision are the hallmarks of successful boat building.” – Experienced Boat Builder
Knowing these common mistakes helps DIY boat builders overcome challenges. This way, they can build a strong, seaworthy boat.
Safety Measures While Building
Building a boat at home needs careful safety steps. When working on stitch-and-epoxy plans, your safety is as important as the boat itself. Safety is not just a tip; it’s a must to avoid accidents and finish your project well.
Essential Safety Gear
Having the right protective gear is key in boat building. Here are the must-have safety items for every DIY boat builder:
- Safety glasses or protective eyewear
- High-quality dust masks or respirators
- Chemical-resistant gloves
- Long-sleeved shirts and long pants
- Steel-toed boots
“Safety first ensures your boat-building dream becomes a reality without personal risk.” – Professional Boat Builder
Safe Working Environment
Having a safe workspace is essential for boat building. Good air flow stops harmful fumes from resins and paints. Make sure your workspace is:
- Clean and organized
- Well-lit
- Free from clutter
- Equipped with fire extinguisher
- Away from possible fire sources
Pro tip: Always work in a well-ventilated area when using epoxy. Always follow the maker’s safety tips for tools and materials in your DIY project.
Final Touches and Launching Your Boat
Finishing your DIY stitch and glue boat plans needs careful work and detail. The last steps of building a wooden boat include making sure everything is ready for the water. With designs like the FL12, check all surfaces and connections before you launch.
Make sure your boat is ready by checking a few key things. Confirm that all epoxy resin has dried and surfaces are smooth. Add seats, rubrails, and any extra features your boat needs. A top-notch finish will protect your boat and help it perform well in different waters.
Preparing for Launch
Getting your boat ready to launch is a big step. Check the boat’s weight and make sure it meets safety rules. Make sure your boat can handle different ways to move, like paddles or a small engine. The right weight balance is key for stability and easy movement.
Maintenance Tips for Your Boat
Keeping your stitch and glue boat in good shape is important. Check seams often, touch up paint when needed, and keep the inside dry to avoid wood damage. Store your boat safely when not using it, and clean it well after each trip. With the right care, your DIY wooden boat will bring joy for many years on rivers, lakes, and coastlines.
FAQ – Stitch and Glue Boat Plans & Blueprints
What is the stitch and glue boat building method?
Stitch and glue is a way to build boats. It uses marine-grade plywood panels held together with zipties. Then, marine epoxy is used to bond them permanently. This method is great for beginners because it lets plywood panels shape the hull naturally.
How long does it take to build a stitch and glue boat?
Building a stitch and glue boat takes about 50 hours. Most beginners finish their first boat in a few weekends. It’s faster than building a wooden boat, thanks to basic carpentry skills.
What materials do I need for stitch and glue boat building?
You’ll need marine-grade plywood, marine epoxy, fiberglass cloth, and expanding pour foam. Also, marine primer and paint are necessary. Basic carpentry tools like a circular saw and drill are required too.
How much does it cost to build a stitch and glue boat?
You can build a DIY stitch and glue boat for under $1,000. Costs vary based on the design and materials used.
Do I need prior boat building experience?
No, stitch and glue is perfect for beginners. It’s easy to learn with basic woodworking skills and patience.
What type of engines can I use with a stitch and glue boat?
You can use paddling, trolling motors, or small outboard engines. For example, the Flats River Skiff 12 can handle engines up to 6 horsepower.
How heavy are stitch and glue boats?
Stitch and glue boats are very light, usually around 100 pounds. This makes them easy to move and launch alone.
What safety gear do I need when building a boat?
You’ll need protective eyewear, dust masks, and gloves. Always work in a well-ventilated area. Follow safety guidelines when using power tools.
How do I ensure the boat is watertight?
For a watertight boat, use marine epoxy and fiberglass tape on seams. Coat all wood surfaces with epoxy and ensure complete coverage before painting.
Can I customize the boat design?
Yes, you can modify designs for your needs. But, it’s wise to follow plans for your first build. Make sure to keep the structural integrity of the original plan.