
Ever dreamed of making your own boat that glides smoothly through waves? Building a DIY cabin cruiser might seem tough, but it’s doable with the right help. Your dream boat can come to life.
Boat building is more than a hobby; it’s a thrilling adventure. It mixes technical skills, creativity, and a love for the sea. With a custom cabin cruiser, you can design it all to fit your needs, from cozy sleeping areas to clever storage spots.
Creating your own boat is a big project that needs careful planning, hard work, and a desire to learn. Whether you’re skilled with wood or just love the sea, making a cabin cruiser is a fulfilling journey.
Key Takeaways – How To Build a Cabin Cruiser
- DIY cabin cruisers offer complete customization
- Wooden boats provide easier repair and modification options
- Building a boat requires careful planning and technical skills
- Personal satisfaction comes from creating your own vessel
- Proper tools and materials are key for successful boat building
Understanding Cabin Cruisers
Cabin cruisers are a fun and versatile part of boating. They mix comfort, freedom, and adventure. These boats let people explore waterways and enjoy home-like comforts on the water.
Cabin cruisers are boats with cozy living spaces. They go from small 20-foot models to big 40-foot ones. This variety meets different boating needs.
What Defines a Cabin Cruiser?
A cabin cruiser stands out because of a few key things:
- Enclosed living quarters
- Sleeping accommodations
- Compact kitchen facilities
- Bathroom amenities
Benefits of Building Your Own Cabin Cruiser
Building a wooden cabin cruiser has its perks:
- Customized interior layout
- Personal design flexibility
- Less condensation than plastic boats
- Easier to fix things
| Cabin Cruiser Class | Length Range | Passenger Capacity |
|---|---|---|
| Class 1 | 16-26 feet | Up to 6 passengers |
| Class 2 | 26-40 feet | Up to 10 passengers |
| Class 3 | 40-65 feet | Up to 12 passengers |
“A cabin cruiser is more than a boat—it’s a floating sanctuary of personal freedom and exploration.”
A 25-foot cabin cruiser weighs about 5,500 pounds. This makes them easy for most people to handle. Prices start at $50,000 for basic models and go up to $500,000 for top-of-the-line designs. This range fits various budgets.
Planning Your Project
Starting a boat building project needs careful planning. You must think strategically and prepare well to make your dream boat a reality.
- Set a realistic project timeline
- Make a detailed budget
- Find out what materials you need
- Plan for any unexpected problems
Setting a Realistic Timeline
The time it takes to build your cabin cruiser depends on many things. Amateur boat builders usually need 6-12 months. Divide your project into smaller, easier stages:
- Design and planning: 1-2 months
- Getting materials: 2-4 weeks
- Building the hull: 2-3 months
- Adding the interior: 1-2 months
- Final touches and testing: 4-6 weeks
Budgeting for Your Cabin Cruiser
Knowing the cost of materials is key for a successful project. Here’s a list of possible expenses:
| Material | Cost | Application Time |
|---|---|---|
| Marine-grade plywood | $100 | 2 days |
| Fiberglass insulation | $50 | 1 day |
| Marine carpet | $75 | 1 day |
| LED lights | $30 | 1 day |
| Marine-grade paint | $50 | 2 days |
“Proper planning prevents poor performance in boat building” – Experienced Marine Craftsman
Save an extra 20-30% for any surprises during your project. Good planning helps avoid financial shocks and ensures a successful build.
Choosing the Right Materials
Choosing the right boat building supplies is key for a successful wooden boat. The materials you pick will affect how durable, fast, and long-lasting your cabin cruiser will be.
Starting your boat building project means you need to know about material selection. Each material has its own benefits and challenges for building boats.
Essential Materials for a Cabin Cruiser
- Marine-grade plywood: British Standard B.S. 1088 classified plywood is great for keeping its shape
- Epoxy resin: It’s vital for keeping the boat dry and strong
- Fiberglass cloth: It helps keep water out and strengthens the wood
- Solid wood for parts: Look for wood with few knots and lots of strength
Tips on Sourcing Quality Materials
Building a wooden boat well starts with getting the right materials. Here are some tips from experts:
- Buy from stores that specialize in marine supplies
- Check the materials for strength before you buy
- Make sure the materials are certified and graded right
“The quality of your boat begins with the quality of your materials.” – Professional Boat Builder
| Material | Cost Range | Durability Rating |
|---|---|---|
| Marine Plywood | $50-$200 per sheet | High |
| Epoxy Resin | $30-$100 per gallon | Very High |
| Fiberglass Cloth | $20-$80 per yard | High |
Spending on top-notch boat building supplies means your wooden boat will last long and perform well in the water.
Designing Your Cabin Cruiser
Creating the perfect cabin cruiser needs careful planning and precision. Designs must balance function with beauty. Professional workshops stress the need for detailed blueprints for success.
Creating a Detailed Blueprint
A detailed blueprint is the base of your cabin cruiser project. It includes:
- Hull shape and geometry
- Interior cabin layout
- Systems placement
- Weight distribution calculations
“A well-designed blueprint is the roadmap to a successful boat-building adventure.” – Marine Design Expert
Software Tools for Designing Boats
Modern workshops use advanced software for precise designs. These tools help optimize the boat’s design.
| Software Tool | Key Features | Skill Level |
|---|---|---|
| AutoCAD Marine | Detailed 3D modeling | Advanced |
| Rhino 3D | Precise hull design | Intermediate |
| SketchUp Marine | User-friendly interface | Beginner |
For a typical 6.6-meter cabin cruiser, focus on key design elements such as:
- Full-size double berth in lower cabin
- Marine toilet placement
- Compact galley with stove and sink
- Comfortable cockpit seating
Successful designs need careful thought on weight, hull shape, and living spaces. By using professional methods and modern software, you can make a vessel that’s both functional and beautiful.
Unlock the secrets to building your dream boat with MyBoatPlans! With detailed plans for over 518 boats and expert video tutorials, you’ll have everything you need to create your perfect vessel. Click here to begin your journey!”
Gathering Necessary Tools
Starting a DIY cabin cruiser project needs careful planning and the right tools. Good boat builders know that the right tools make a big difference. They can turn a tough project into a fun one.
Must-Have Tools for Boat Building
Every DIY cabin cruiser project needs specific tools for precision and quality. Here are the key tools you’ll need:
- Power Tools:
- Circular saw
- Cordless drill
- Random orbital sander
- Jigsaw
- Hand Tools:
- Clamps (various sizes)
- Measuring tape
- Level
- Carpenter’s square
- Specialized Boat Building Tools:
- Epoxy application tools
- Fiberglass cutting tools
- Marine-grade caulking gun
Safety Equipment Essentials
“Safety first is safety always” – Charles M. Hayes
Keeping yourself safe while building a boat is key. Get top-notch safety gear to avoid accidents and work safely.
| Safety Category | Essential Items |
|---|---|
| Personal Protection | – Respirator mask – Safety glasses – Protective gloves – Ear protection |
| Workspace Safety | – Fire extinguisher – First aid kit – Ventilation fan – Non-slip floor mats |
| Chemical Safety | – Chemical-resistant apron – Epoxy handling gloves – Solvent-safe containers – Protective eyewash station |
Pro tip: Think about renting special tools for one-time use to save money on your DIY cabin cruiser project. Always choose quality and safety over saving a few bucks.
Building the Hull
Building a wooden boat needs careful planning and precision. The hull is the base of your cabin cruiser. Knowing about hull designs and building methods is important for a strong and efficient boat.
Types of Hull Designs
Choosing the right hull design is key for your cabin cruiser’s performance. Each hull type has its own benefits:
- Planing Hulls: Great for speed and smooth water
- Displacement Hulls: Best for fuel efficiency and stability
- Semi-Displacement Hulls: Good balance between speed and fuel economy
Hull Construction Process
Building a hull for homemade boats involves several important steps:
- Create a sturdy scaffold for support
- Install marine plywood bulkheads
- Connect bulkheads with a solid wood keel beam
- Add longitudinal stringers for structural integrity
- Apply plywood panels to the frame
- Reinforce chines with fiberglass tape
“A well-constructed hull is the heart of any successful wooden boat project.”
For wooden boat construction, aim for a hull that’s both lightweight and strong. Experts say to make it about 15% lighter than fiberglass boats. This can be done by choosing the right materials and building carefully.
Remember, patience and attention to detail are essential when building your cabin cruiser’s hull. Take your time to make sure each step is done with precision and care.
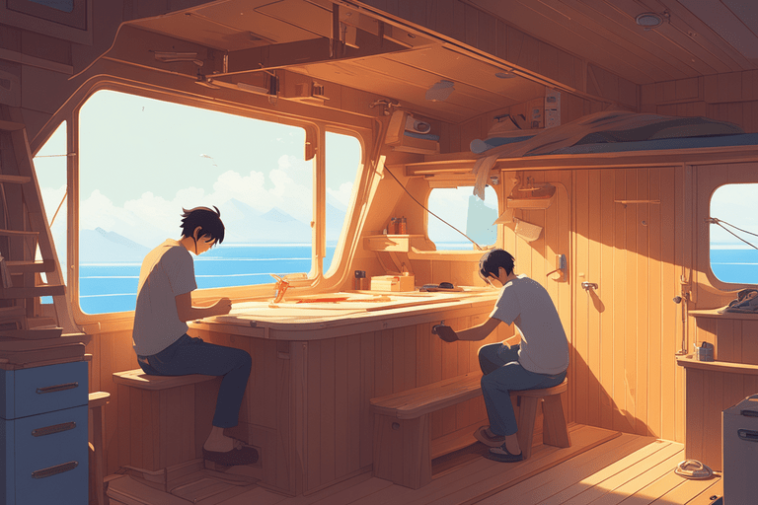
Constructing the Cabin
Building a DIY cabin cruiser means focusing on the cabin design. It’s key to making a space that’s both comfy and useful. You need to plan well and think about how things will work inside.
The cabin’s strength comes from smart design choices. For a 6.6-meter boat, consider these important parts:
- Double V-berth in the bow area
- Separate marine toilet compartment
- Dedicated pilot steering position
- Compact galley with essential amenities
Cabin Layout Ideas
Good cabin designs use space wisely. Here are some berth sizes to think about:
- Single berths: 2 feet by 6.5 feet
- Double berths: 4.5 feet by 6.5 feet
Interior Design Considerations
When designing your cabin cruiser’s interior, think about storage. Also, remember to put in safety features like:
- Secure handrails
- Grab rails for movement stability
- Marine-grade plywood for durability
“A well-designed cabin transforms your boat from a mere vessel to a comfortable floating home.”
For your cabin’s structure, use 1″ x 3″ wood for roof supports. Make sure to seal everything well to avoid water damage. The cabin should be about 5.5 feet tall for enough headroom.
Download over 500 Boat Plans. Click on the link below.
-->Click Here<--
Installing the Engine and Mechanical Systems
Choosing the right engine is key in cabin cruiser kits and boat building. The engine is the heart of your boat, affecting its performance, fuel use, and sailing feel.
When starting your boat building, picking the engine is vital. Different kits need specific engines based on size and use.
Selecting the Right Engine
Choosing an engine means looking at several important things:
- Vessel size and weight
- Anticipated cruising range
- Fuel efficiency needs
- Performance goals
Engine Installation Guidelines
Installing an engine needs care and precision. Here are key steps:
- Measure engine mounting spots carefully
- Make sure weight is evenly spread
- Install the right through-hull fittings
- Check fuel system connections
| Engine Type | Power Range | Fuel Efficiency |
|---|---|---|
| Inboard Diesel | 100-180 HP | High |
| Outboard | 50-200 HP | Moderate |
“Choosing the right engine turns your boat into a trusted sailing partner.” – Maritime Engineering Expert
Pro tip: Always talk to marine engineers for your engine choice in cabin cruiser kits. They ensure your boat performs well and safely.
Electrical Systems in Your Cabin Cruiser
Building a homemade boat means planning its electrical systems carefully. The right electrical setup makes your cabin cruiser safe, functional, and fun. Knowing about boat building supplies and electrical needs is key for a good marine electrical installation.
Creating a good electrical system needs careful thought. Boat builders must design a strong 12-volt system. It should meet both propulsion and onboard power needs.
Wiring and Lighting Basics
Marine electrical systems need precision and safety. Important parts for your homemade boats include:
- Two-battery system (cranking and deep-cycle)
- Engine-driven alternator for charging
- Waterproof wiring connections
- Proper circuit protection
Installing Electronics on the Boat
Choosing the right electronics improves your boat building supplies and marine experience. Consider these key electronic components:
| Electronic Component | Function | Power Requirement |
|---|---|---|
| Navigation Lights | Safety Compliance | Low Power (LED) |
| Compass Light | Nighttime Navigation | Minimal Power |
| Chart Table Light | Working Area Illumination | Medium Power |
Pro Tip: Always choose energy-efficient LED lighting. It helps your homemade boat’s battery last longer.
“A well-designed electrical system is the backbone of a reliable marine vessel.” – Marine Engineering Expert
When planning your electrical system, match your skill level with the system’s complexity. Beginners should start with simple setups. Then, they can add more electrical features as they get more experience.
Finishing Touches
Finishing a cabin cruiser is the thrilling end of your boat building journey. The right finishes can turn your project into a beautiful boat. It’s like transforming a raw piece of art into a stunning work of maritime art.
Selecting Premium Marine Paints and Finishes
When picking paints for your cabin cruiser, choose marine-grade ones. These paints are made to handle the tough conditions of water. They protect against:
- UV radiation
- Salt water corrosion
- Temperature changes
- Moisture
Application Techniques for Professional Results
To get a smooth, lasting finish, you need to prepare well and use the right techniques. Experts suggest:
- Clean and sand the surfaces well
- Apply thin coats and let them dry
- Sand lightly between coats
- Use top-quality marine brushes or rollers
Upholstery and Interior Design
Choose fabrics that can handle moisture, UV rays, and mildew. Pick furniture that’s both functional and stylish. This way, you make the most of your cabin space.
“A well-designed boat interior reflects both functionality and personal style” – Maritime Design Magazine
| Material | Durability Rating | Cost Range |
|---|---|---|
| Marine Vinyl | High | $15-$30/yard |
| Sunbrella Fabric | Very High | $25-$45/yard |
| Outdoor Polyester | Medium | $10-$20/yard |
Pro tip: Always invest in quality materials for long-lasting durability and comfort on your sea adventures.
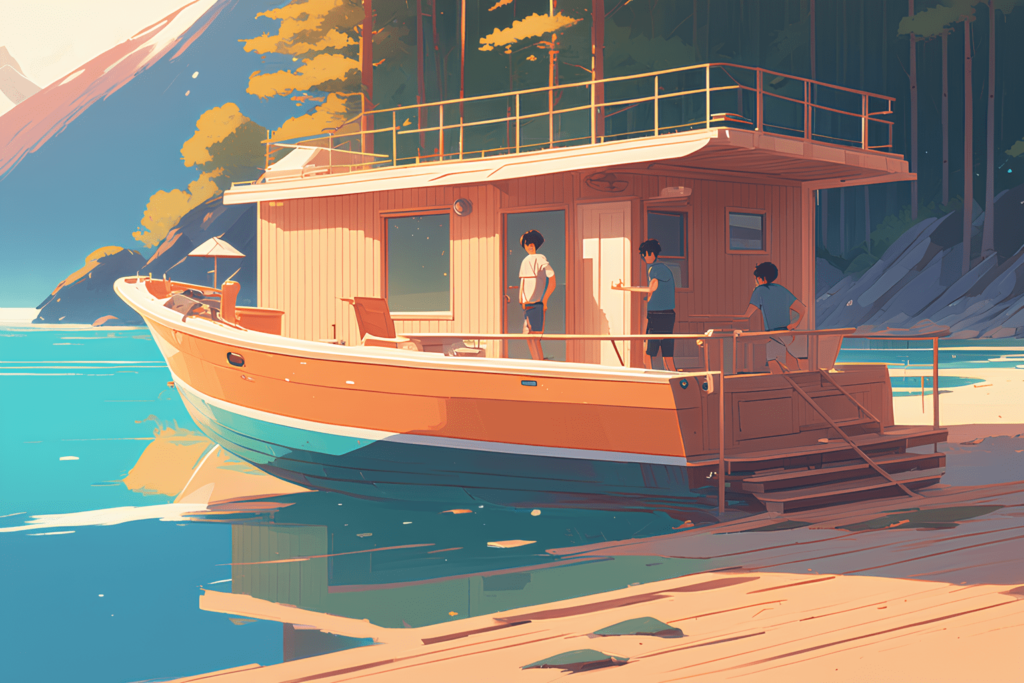
Testing and Launching Your Cabin Cruiser
After finishing your boat, the moment to launch your cabin cruiser is here. Your hard work in learning to build a cabin cruiser at home will be tested. Before the first launch, focus on safety and performance.
Safety Checks Before Launch
Do a thorough safety check before your boat hits the water. Look for any weak spots or flaws in the hull. Make sure all mechanical parts, like the engine and wiring, are working right.
Also, check that you have all safety gear ready, like life jackets and a fire extinguisher. This ensures a safe start.
Tips for an Enjoyable First Journey
Choose a calm place for your first trip. Start with short journeys to get used to how your cruiser handles. File a float plan with someone you trust, telling them where you’re going and when you’ll be back.
Always follow local boating rules. Take your time to see what your cruiser can do. Enjoy the ride in your handcrafted cabin cruiser.
FAQ – How To Build a Cabin Cruiser
How long does it take to build a cabin cruiser at home?
Building a cabin cruiser’s time varies. It depends on your skill, available time, and project’s complexity. A 6.6-meter cruiser might take 6 months to 2 years. Your design’s detail, work hours, and building experience also play a role.
What is the estimated cost of building a cabin cruiser?
Costs range from $10,000 to $50,000. This depends on size, materials, and design complexity. A 6.6-meter cruiser can cost $20,000 to $35,000 if you build it yourself. Remember to include tools, engine, and finishing costs. Always plan for extra expenses.
Do I need professional boat-building experience to construct a cabin cruiser?
You don’t need to be a pro. DIY fans can build cabin cruisers with research, patience, and detail. Take workshops, join forums, and study guides. Start with small projects to gain skills and confidence.
What are the most challenging aspects of building a cabin cruiser?
Challenges include making a watertight hull and balancing weight. Engine installation and electrical systems are also tricky. Hull building and achieving a smooth finish need skill and patience.
What type of materials are best for building a cabin cruiser?
Use marine-grade okoume plywood for the hull. Solid wood is good for stringers and keel. Reinforce with epoxy and fiberglass. Choose materials that resist moisture and UV damage. Marine-grade stainless steel and corrosion-resistant fasteners are key.
Can I customize the design of my cabin cruiser?
Yes! Building your own cruiser means you can customize it fully. Modify the hull, cabin layout, and interior to fit your needs. Use design software to refine your design.
What tools will I need to build a cabin cruiser?
You’ll need a circular saw, drill, sanders, clamps, and epoxy tools. Don’t forget measuring tools and safety gear. Invest in quality tools. Rent specialized tools if needed. A well-equipped workshop is essential.
Is it legal to build and use a homemade boat?
Yes, but follow local maritime laws. Your boat must pass safety checks and meet coast guard standards. Register your boat and ensure it meets legal requirements for recreational use.
How do I choose the right engine for my cabin cruiser?
For a 6.6-meter cruiser, choose an engine between 100-180 HP. Decide between inboard and outboard engines based on your needs. Consider fuel efficiency, weight, and cruising conditions when selecting.
What ongoing maintenance will my cabin cruiser require?
Maintenance includes annual hull checks, resealing, and system checks. Plan for annual haul-outs and bottom painting. Budget for ongoing costs and keep repair records.