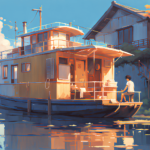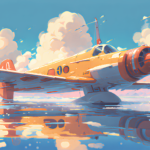

Overview of Hydroplane Painting Tips
Hydroplane painting is a crucial aspect of maintaining and enhancing the appearance of your hydroplane. Whether you are a professional racer or a recreational boater, a well-painted hydroplane not only adds aesthetic appeal but also protects the boat from the harsh elements it encounters on the water. The process of hydroplane painting involves choosing the right paint, preparing the surface, applying primer and paint, and adding custom designs or graphics. In this article, we will delve into each step in detail, providing you with valuable tips and techniques to achieve a professional finish.
Key Takeaways
- Choose the right paint for your hydroplane to ensure durability and longevity.
- Proper preparation, including sanding and masking, is crucial for a smooth and clean finish.
- Applying primer before painting can help improve adhesion and coverage.
- Custom designs and graphics can add a personal touch to your hydroplane.
- Regular maintenance, such as washing and waxing, can help preserve your paint job for years to come.
Choosing the Right Paint for Your Hydroplane
Selecting the appropriate paint for your hydroplane is essential to ensure durability and longevity. There are various types of paint suitable for hydroplanes, including marine-grade enamel, polyurethane, and epoxy-based paints. Factors to consider when choosing paint include the type of hydroplane (wooden or fiberglass), the intended use (racing or recreational), and personal preferences regarding color and finish. It is crucial to opt for high-quality paints that are specifically formulated for marine applications, as they are designed to withstand constant exposure to water, UV rays, and other environmental factors.
Preparing Your Hydroplane for Painting
Before diving into the painting process, it is crucial to prepare your hydroplane’s surface properly. This involves cleaning and degreasing the surface to remove any dirt, grime, or contaminants that may hinder paint adhesion. Additionally, any damages such as scratches or dents should be repaired using appropriate fillers or sealants. Once the surface is clean and repaired, sanding becomes necessary to create a smooth and even base for the paint.
Sanding Techniques for a Smooth Finish
| Sanding Technique | Description | Advantages | Disadvantages |
| Hand Sanding | Sanding by hand using sandpaper or sanding blocks. | Controlled sanding, good for small areas, inexpensive. | Time-consuming, can cause uneven sanding, can be tiring. |
| Power Sanding | Sanding using a power tool such as an orbital sander or belt sander. | Efficient, saves time, good for large areas. | Can be expensive, can cause damage if not used properly, can create dust. |
| Wet Sanding | Sanding using water to lubricate the surface and reduce dust. | Produces a smooth finish, reduces dust, good for finishing coats. | Can be messy, requires more time and effort, can cause rust if not dried properly. |
| Buffing | Using a buffing wheel or pad to polish the surface. | Produces a high-gloss finish, good for final finishing, can remove scratches. | Requires special equipment, can be expensive, can cause damage if not used properly. |
Sanding plays a vital role in achieving a flawless finish on your hydroplane. It helps remove imperfections, rough spots, and old layers of paint or varnish. The importance of sanding cannot be overstated, as it promotes better paint adhesion and ensures a uniform surface. Different sanding techniques can be employed depending on the condition of the hydroplane’s surface and the type of paint being used. Wet sanding, dry sanding, and feathering are some common techniques used in hydroplane painting. It is crucial to follow the manufacturer’s instructions and use the appropriate grit sandpaper for each stage of sanding.
Masking and Taping for Clean Lines
Achieving clean lines and sharp edges is essential for a professional-looking hydroplane paint job. Masking and taping are techniques used to protect certain areas from being painted while ensuring precise lines and boundaries. This step is particularly crucial when adding custom designs or graphics to your hydroplane. Proper masking and taping techniques involve using high-quality painter’s tape and plastic sheeting to cover areas that should not be painted. It is essential to take your time during this process to ensure accurate placement and avoid any paint bleed or smudging.
Applying Primer to Your Hydroplane
Primer serves as a crucial foundation for the paint, enhancing adhesion and providing a smooth surface for the topcoat. It also helps seal the hydroplane’s surface, preventing moisture penetration and potential damage. When selecting a primer for your hydroplane, consider factors such as compatibility with the chosen paint type, the material of your hydroplane (wood or fiberglass), and the desired finish. Applying primer requires attention to detail, ensuring even coverage and avoiding excessive buildup or drips.
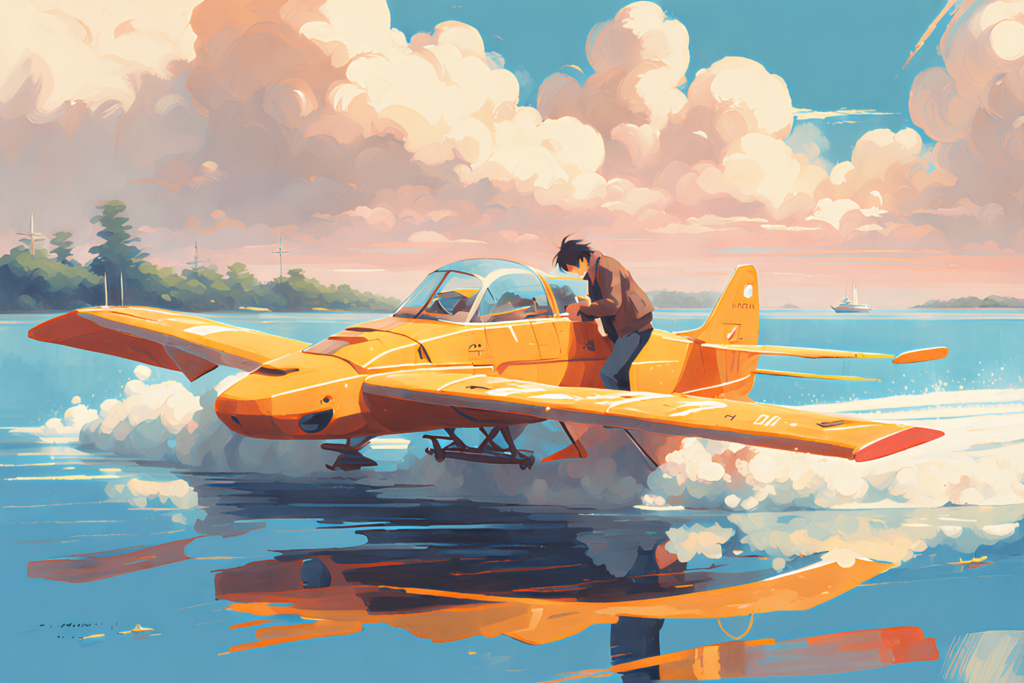
Tips for Applying Paint to Your Hydroplane
The application of paint is the most visually impactful step in hydroplane painting. Techniques such as brushing, rolling, or spraying can be used depending on personal preference and the type of paint being applied. Regardless of the method chosen, it is crucial to follow proper application techniques to achieve a professional finish. Tips for applying paint include working in small sections, maintaining a consistent stroke or spray pattern, and avoiding excessive paint buildup. It is also essential to consider environmental factors such as temperature and humidity, as they can affect the drying and curing process.
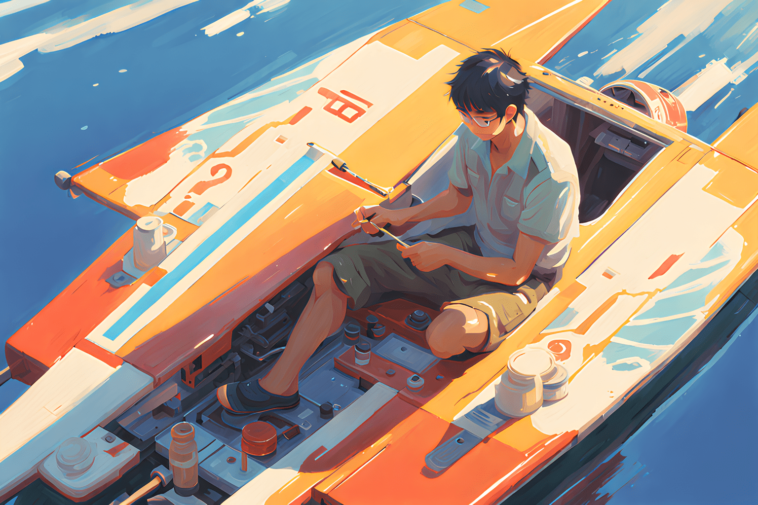
Creating Custom Designs and Graphics
Adding custom designs and graphics to your hydroplane can elevate its appearance and make it stand out on the water. Whether you prefer a simple logo or a complex mural, there are various techniques to achieve a unique look. Vinyl decals, stencils, airbrushing, or freehand painting are some popular methods used to create custom designs. It is essential to plan your design beforehand, ensuring proper placement and proportions. Practice on a test surface before applying the design to your hydroplane to ensure accuracy and avoid any mistakes.
Finishing Touches: Clear Coating and Buffing
To achieve a glossy and polished finish on your hydroplane, clear coating and buffing are essential steps. Clear coating adds an extra layer of protection to the paint, enhancing its durability and resistance to UV rays and water damage. Buffing involves using polishing compounds and a buffing machine or hand polishing to remove any imperfections or swirl marks, resulting in a smooth and reflective surface. It is crucial to follow the manufacturer’s instructions when applying clear coat and buffing, as different products may have specific requirements.
Download over 500 Boat Plans. Click on the link below.
-->Click Here<--
Maintenance Tips for Your Hydroplane Paint Job
Maintaining your hydroplane’s paint job is crucial to ensure its longevity and appearance. Regular cleaning using mild soap and water, avoiding abrasive cleaners or tools, and protecting the hydroplane from prolonged exposure to sunlight are some essential maintenance tips. Additionally, inspecting the paint periodically for any signs of damage or wear allows for timely repairs or touch-ups.
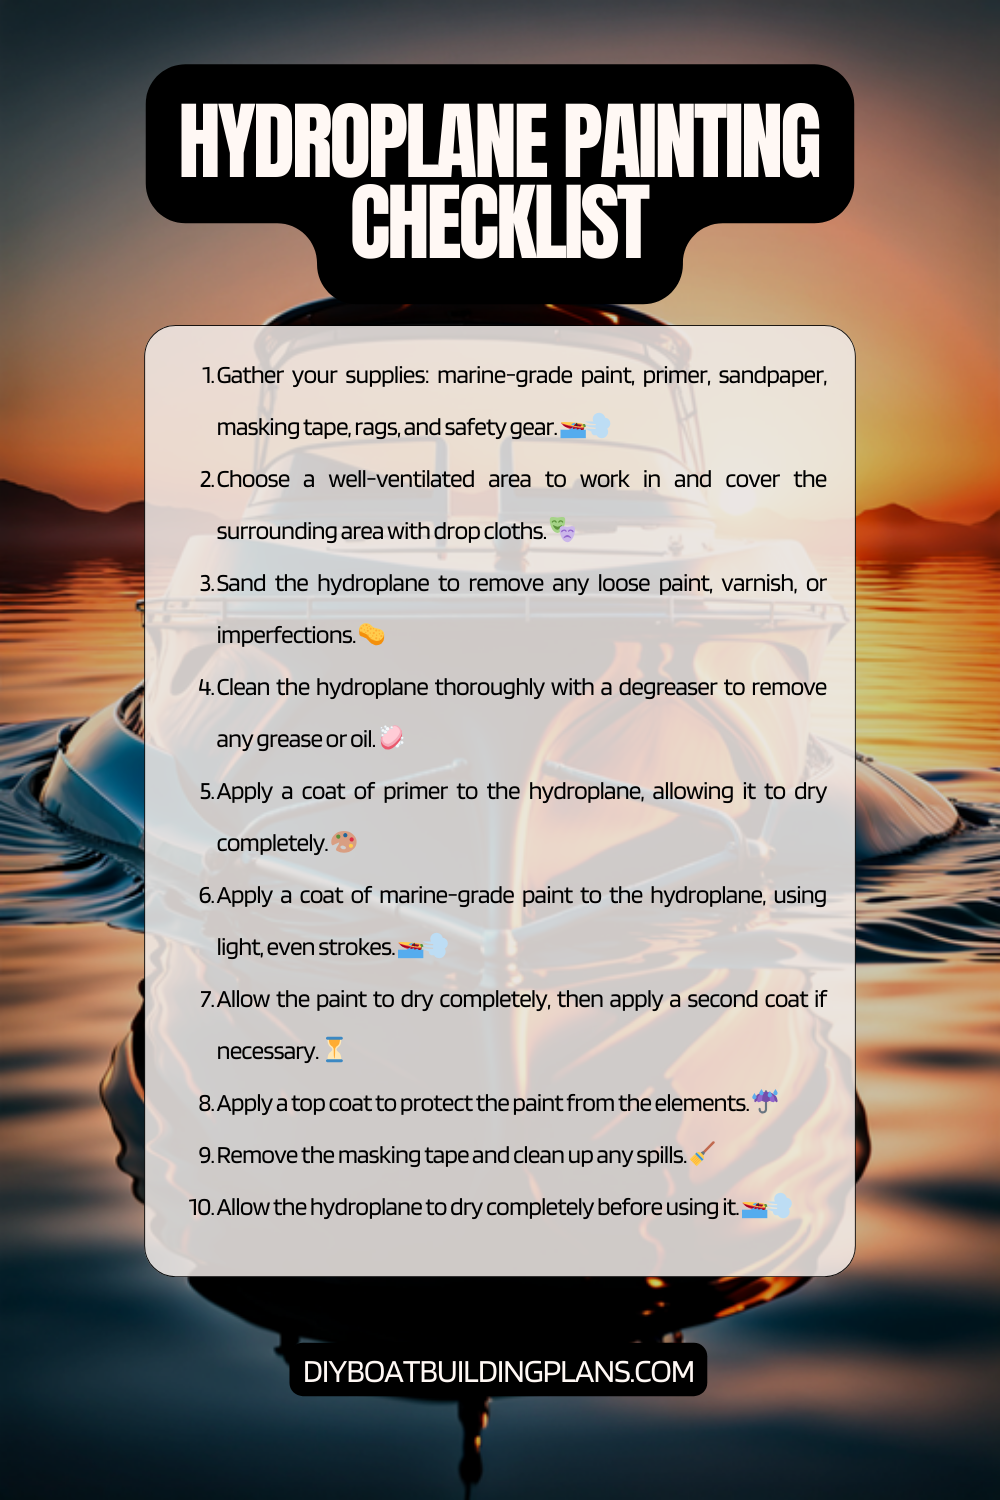
Hydroplane Painting Checklist
Conclusion – Hydroplane Painting Tips
In conclusion, hydroplane painting is a multi-step process that requires careful consideration and attention to detail. From choosing the right paint to applying custom designs and maintaining the paint job, each step plays a crucial role in achieving a professional finish. By following the tips and techniques outlined in this article, you can confidently embark on your hydroplane painting journey, adding a personal touch to your beloved watercraft. So, grab your brushes, tapes, and paints, and let your creativity flow as you transform your hydroplane into a work of art.
FAQs – Hydroplane Painting Tips
What is hydroplane painting?
Hydroplane painting is a technique used to paint boats, specifically hydroplanes, which are high-speed racing boats that skim across the water.
What are some tips for hydroplane painting?
Some tips for hydroplane painting include using high-quality marine paint, properly preparing the surface by sanding and cleaning it, using a spray gun for an even application, and applying multiple thin coats rather than one thick coat.
What type of paint should be used for hydroplane painting?
Marine paint is recommended for hydroplane painting as it is designed to withstand exposure to water and other harsh elements.
How should the surface be prepared before hydroplane painting?
The surface should be sanded to remove any old paint or rough spots, and then cleaned thoroughly to remove any dirt or debris. It is also important to ensure that the surface is completely dry before painting.
What is the best way to apply paint to a hydroplane?
Using a spray gun is the best way to apply paint to a hydroplane as it allows for an even application and a smooth finish. It is important to use a steady hand and to apply multiple thin coats rather than one thick coat.
How long does hydroplane paint typically last?
The lifespan of hydroplane paint can vary depending on factors such as the quality of the paint, the conditions the boat is exposed to, and how well the paint was applied. Generally, hydroplane paint can last anywhere from 2-5 years before needing to be repainted.